Fibre optic cleaning pens a how-to use guide.
Cleanliness according to IEC standards.
The IEC developed the 61300-3-35 Basic Test and Measurement Procedures standard in an effort to establish consistency in fibre inspection and achieve more repeatable results for performance across multiple end faces.
This standard covers Fibre Optic Interconnecting Devices and Passive Components.
The certification criteria in IEC 61300-3-35 varies based on connector type and fibre sizes, as well as types of defects.
Defects include pits,chips, scratches, cracks, particles, embedded, and loose debris. IEC standards categorize these into two groups –
Scratches and Defects.
Scratches are identified as permanent linearsurface features while
defects include all detectable non-linear features that can typically be cleaned.
Importance of Cleaning.
Defects can cause the failure of a connection or even the failure of the entire system. Microscopic dust particles can even cause a variety of problems. Particles that partially or completely block the fibre can cause strong back reflections.
Clean fibre optic parts are a necessity for quality connections. Therefore, the most basic and important procedure for the maintenance of fibre optic systems is to clean each one of the fibre optic connections.
We will concentrate on“how to” achieve a good cleaning result using Rapidconnect cleaning pens.
“HOW TO” instructions – for both enclosure applications (adaptors) and cleaning connector end-faces.
Cleaning pens have become quite popular, they are a dry clean method and it takes little to no time to achieve great results.
With as little as one push a One-Click Cleaner can remove dust and oils attached to the fibre optic connector.
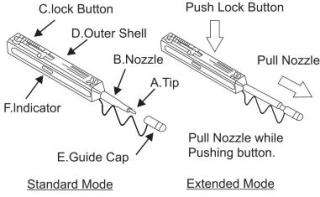
Let us have a look at the components and functions of a fibre optic cleaning pen.
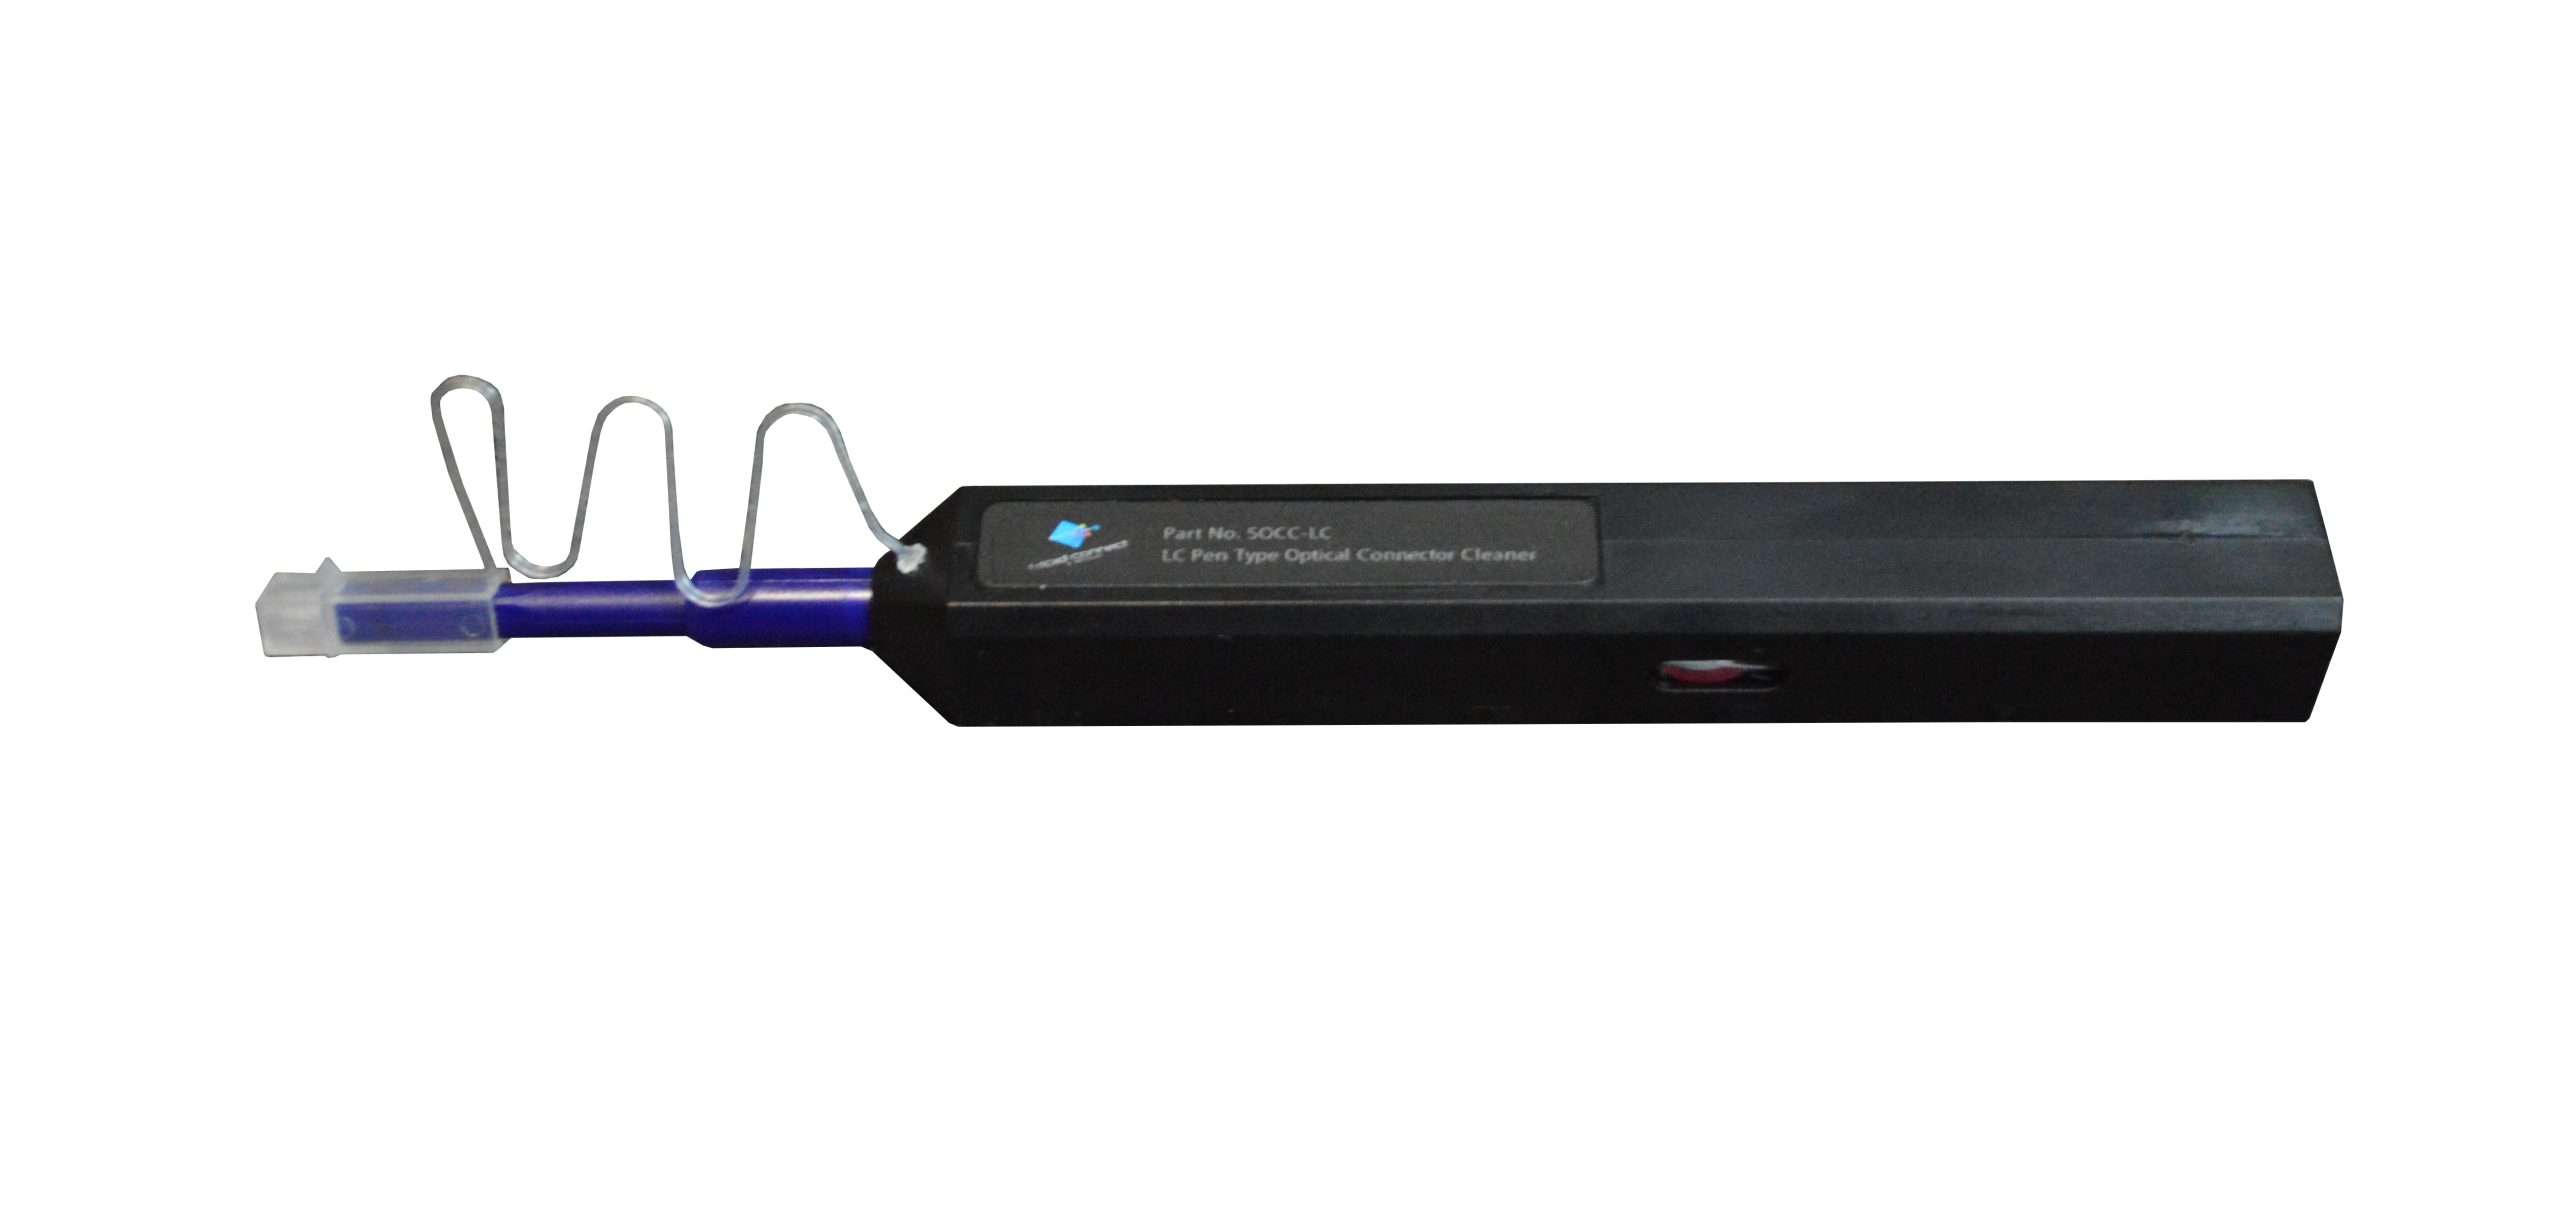
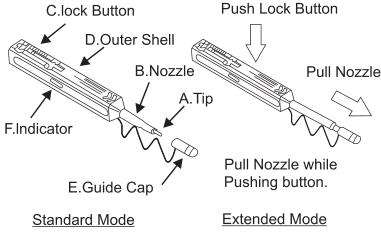
Components and Functions.
| No. | Part Name | Function |
| A | Tip | Lead the cleaning cloth to the optical connector end face. |
| B | Nozzle | The Nozzle helps guide the tip into the connector needing cleaning. |
| C | Lock Button | Push the button to extend and contract the nozzle. |
| D | Outer Shell | Push the outer shell to clean the connector. |
| E | Guide Cap | Acts as dust cap or cleaning adapter for connector plug. |
| F | Indicator | Provides an indication of remaining cleaning cloth. |
NOTE: – The cover on the guide cap should be closed at all times when the device is not in use.
This is to ensure no particles or dust contaminate the cleaning cloth inside.
fibre optic cleaning – Check before cleaning connectors.
Every time a connector is removed or being installed you should be checking that it is clean. Remember the “Golden Rule” of cleaning.
ALWAYS inspect before you connect!
Make it a habit to also inspect ports as well before inserting a connector, even if it was only recentlyunplugged or removed from a protective dust cap.
It may be straight out of the pack and brand new, however, it should still be inspected and cleaned as necessary prior to use.
Dust and Dirt are fibre optics number one enemy, so stay alert and armed.
Steps to cleaning connectors on the ends of fibre optic cable.
Step 1. Remove the guide cap “cover” (not the entire guide cap) from the tip of the pen when cleaning connectors.
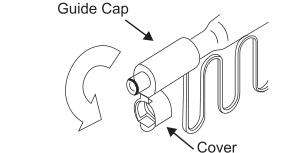
Step 2. Insert the connector into the guide cap.
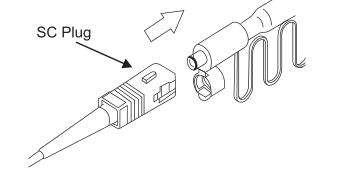
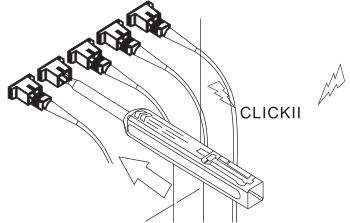
Step 3. Push the pen towards the connector to commence cleaning the connector end face until you hear it “click”. Cleaning completed.
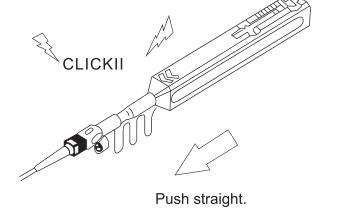
Step 4. Proceed to inspect for cleanliness before installation.

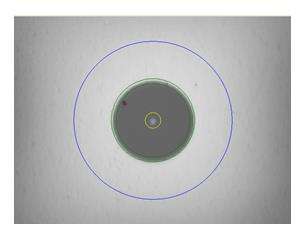
If you still see dust or dirt simply one-click clean and check the end face again.
In some instances, however, you may need to use the wet-dry cleaning method to remove more stubborn dirt.
Cleaning Connectors Installed In Adapters (Bulkhead Applications)
Step1. Remove the “entire” guide cap from the tip of the pen.
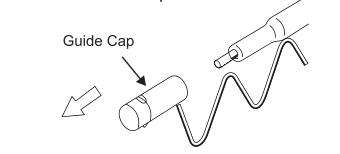
Step 2. Extend the Nozzle for extra length if needed by moving the push-lock button and pulling the nozzle forward.
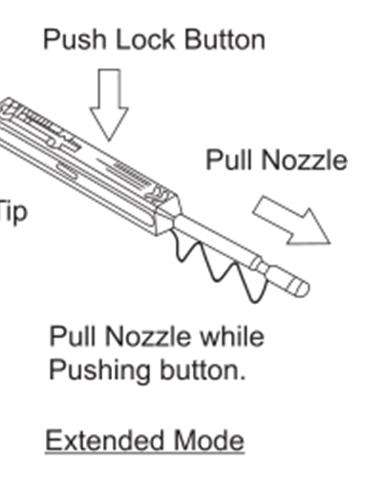
Step 3. Insert until the tip of the pen touches the inside of the adapter. Note- you may not need to extend the pen.
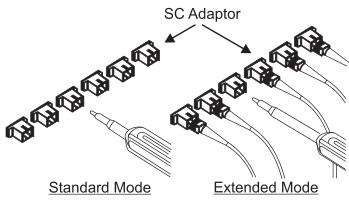
Step 4. Push the pen towards the adaptor to commence cleaning the connector on the other end until you hear it “click”. Cleaning completed.
How do you know how much cleaning cloth is left?
Check the indicator on the side to see how much cloth is left. The images below give you an idea of what to look for when checking.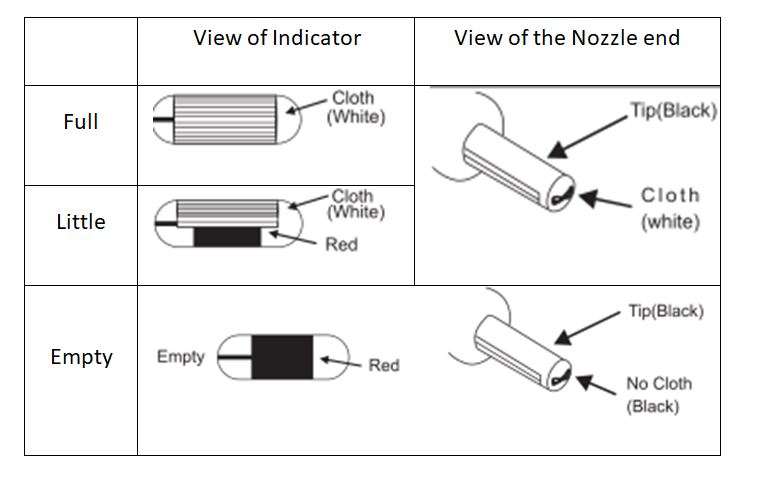
Conclusion
Being able to use your cleaning tools correctly will certainly make life easier for you.
Treat them with care, and you should be able to achieve consistent results!