The Truth About Fibre Connector Cleaning: Why ‘Clean Before You Connect’ Saves You Money
When it comes to fibre optic networks, the smallest issue can cause the biggest headaches. And few issues are smaller—literally—than dust, oil, or debris on a connector. Yet time and again, contractors and techs skip fibre connector cleaning to save a few seconds.
Here’s the truth: dirty connectors are the #1 cause of fibre failures in the field. Whether you’re terminating LC leads in a rack or plugging SC jumpers into a panel, skipping cleaning might seem harmless. But it’s costing you in rework, performance, and credibility.
To make matters worse, the impact of a dirty connector often isn’t immediate — it’s cumulative. That’s why many techs underestimate the risks. You might install today and test clean, but the debris left behind can gradually degrade performance, especially as connectors are mated and unmated across time.
What Happens When You Don’t Clean Fibre Connectors?
Skipping fibre connector cleaning doesn’t just cause signal loss — it causes:
- Higher insertion loss, leading to poor signal strength and system instability.
- Increased back reflection, which can damage transceivers and laser sources.
- Permanent end-face damage, especially if you connect without checking.
Even worse? That debris gets transferred to the next connector it touches.
You can avoid all of this with a simple LC/SC Pen Cleaner — a $22.50 tool that pays for itself in one job.
These issues aren’t just technical — they’re financial. An uncleaned connector can delay a project handover, lead to failed warranty compliance, or cause a contractor to lose a repeat client.
What Does “Clean” Actually Mean in Fibre Connector Cleaning?
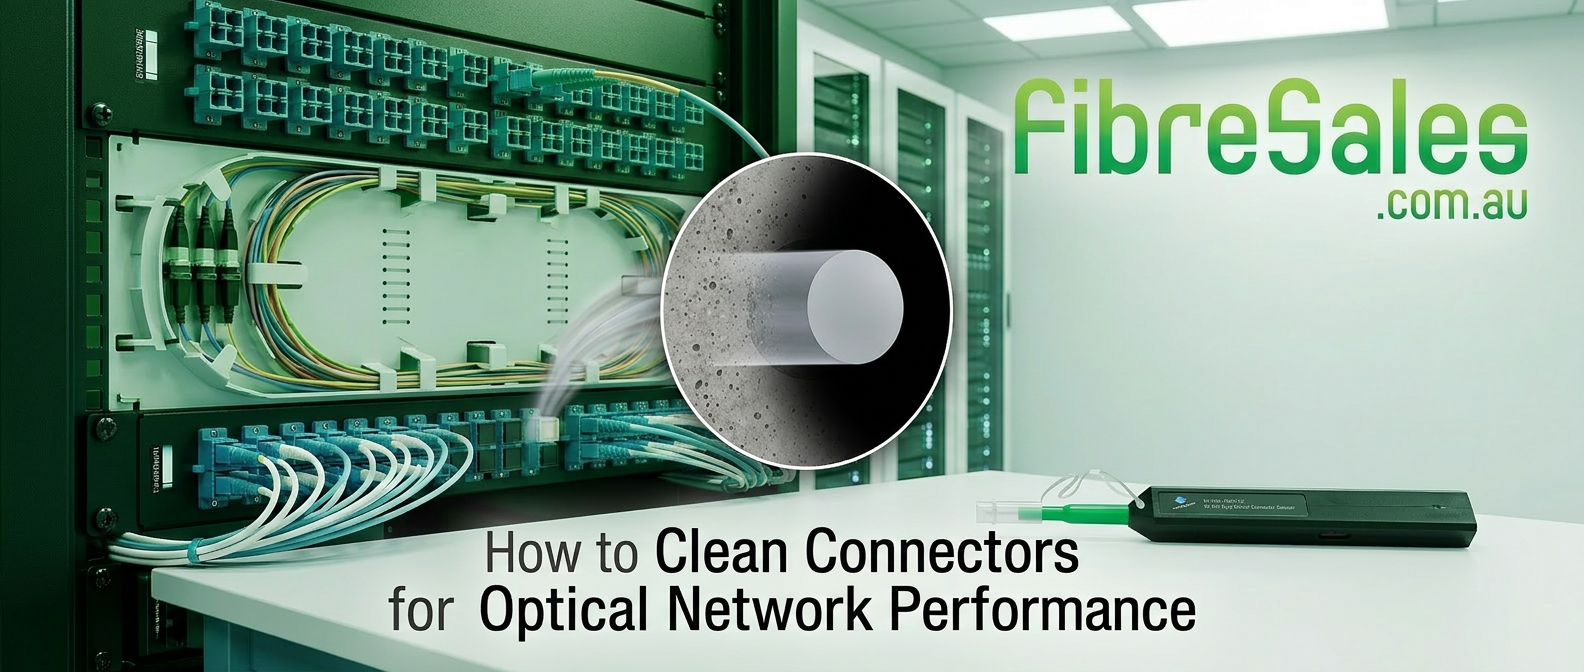
To the naked eye, your connector might look fine. But under a scope, even a “new” fibre patch lead can have:
- Microscopic dust from factory handling
- Oil from skin contact
- Static-charged particles that attract debris from air
This contamination creates a barrier between the two fibre cores, scattering or reflecting light. In singlemode systems, it can wreck your power budget entirely.
That’s why all professional techs use an inspection scope to check each connector before mating.
Inspection scopes are no longer just for high-end labs. Handheld and budget-friendly options make it easy for field installers to spot contamination instantly — even on dusty outdoor jobs or dimly lit comms rooms.
Why “Clean Before You Connect” Is a Fibre Connector Cleaning Standard
The phrase isn’t just good advice — it’s written into international standards:
- TIA-568.3-D and IEC 61300-3-35 both require inspection and fibre connector cleaning before connection.
- Installers can be held liable for contamination-based failures.
- Manufacturer warranties may be voided if dirty connectors cause damage.
So if you’re bidding for government or enterprise fibre jobs, showing your team uses proper fibre connector cleaning tools gives you a competitive edge.
In fact, some government tenders now require documentation of cleaning protocols as part of QA submissions. Being able to show your team has the right tools and workflow helps close those high-value deals.
External Links
ANSI/TIA-568.3-E: Optical Fiber Cabling and Components Standard
How to Clean Fibre Optic Connectors (Properly)
There’s a right and wrong way to do fibre connector cleaning. Here’s the right way:
- Dry Clean First
Use a pen-style fibre cleaner (for LC, SC, or MPO) and press once per connector. - Wet/Dry Combo (if stubborn contamination exists)
Use a small amount of isopropyl alcohol on a lint-free wipe, followed by a dry wipe to remove residue. - Always Inspect After Cleaning
Even after cleaning, inspect to verify cleanliness — don’t assume it worked.
Pro tip: Never reuse wipes or touch the end-face — even a fingerprint can ruin performance.
Another mistake? Using the wrong cleaner for your connector type. LC and SC need different tools than MTP/MPO. Choosing the right cleaner isn’t just about compatibility — it’s about reach, contact angle, and surface area coverage.
Common Myths About Fibre Connector Cleaning
Let’s clear up a few dangerous misconceptions:
- “It’s a brand new lead, it should be clean.”
Not true — new doesn’t mean contamination-free. Always inspect. - “I’ll just blow on it or wipe it with my shirt.”
Absolutely not — that adds moisture, dust, and static. - “I’ve never had an issue before.”
Contamination issues are often cumulative or intermittent — until they cause a total fail. - “Cleaning slows me down.”
Actually, it prevents rework — and redoing a job is far slower and more expensive than doing it right the first time.
The Cost of Not Cleaning Fibre Connectors
What You Risk:
- Failed acceptance tests
- Return site visits and unpaid callouts
- Damaged transceivers ($100s per unit)
- Reputation loss with clients
All of that to avoid using a One Click Cleaner and a 5-second inspection?
Even if you’re only running fibre a few times a week, proper cleaning gear saves time, money, and hassle. For contractors managing teams, it can drastically reduce call-back rates.
And if you’re a solo tech, a single failed job can erase your margin — or worse, lead to a refund or negative review. Cleaning is your cheapest insurance policy.
Fibre Connector Cleaning Tools Every Installer Should Own
Here’s what a pro-level fibre connector cleaning kit looks like:
- LC/SC Pen Cleaner – For cleaning inside adapters and patch leads
- MPO/MTP Cleaner – For multifibre connections in data centres
- Inspection Scope – For verifying connector end-faces pre- and post-clean
- Cleaning Cassettes or Wipes – For bulk cleaning or stubborn residue
Every tool pays for itself in reduced failure rates and smoother handoffs.
All available at FibreSales: Browse Fibre Cleaning Tools
Conclusion: Fibre Connector Cleaning = Cleaner Projects
“Clean Before You Connect” isn’t just a slogan — it’s an essential step in modern fibre optics. If you’re working with LC, SC, or MPO connectors, fibre connector cleaning should never be optional.
A few seconds with the right tool avoids expensive faults, improves test results, and keeps your projects on budget. Whether you’re a contractor, system integrator, or solo tech, clean connectors = clean installs = clean reputation.
The best part? Cleaning tools are low-cost, portable, and fast — there’s no excuse not to use them.
- Don’t guess. Get the fibre cleaning tools your crew needs — and avoid dirty surprises
FAQs: Fibre Optic Cleaning
Q1: Do new fibre patch leads need cleaning before use?
Yes — even brand-new cables often have microscopic dust or oil from manufacturing or packaging. Always inspect and clean before connecting.
Q2: What’s the best way to clean an LC or SC connector?
Use a pen-style dry cleaner designed for LC or SC. For stubborn debris, follow with a lint-free wipe and isopropyl alcohol, then inspect the end-face with a scope.
Q3: Can dirty connectors permanently damage equipment?
Absolutely. Contamination causes back reflection, which can degrade or destroy sensitive optics in transceivers or test equipment.
Q4: How often should I clean fibre connectors during installation?
Every time you disconnect and reconnect. Always clean and inspect both ends before mating, especially in critical links or high-speed systems.
Q5: What’s the difference between an inspection scope and a power meter?
An inspection scope lets you visually check the physical condition of the connector end-face. A power meter only tells you signal loss — it won’t show if the end is scratched or dirty.
Q6: Are there standards that require fibre cleaning?
Yes — TIA-568.3-D and IEC 61300-3-35 both require cleaning and inspection before any fibre connection is made, especially for test compliance.